Learn
Missing Textures in Blender? Repair the Paths and Prepare a Reliable Handoff
Recover missing Blender textures, organize external resources and test a project handoff before sending the scene to another artist or machine.
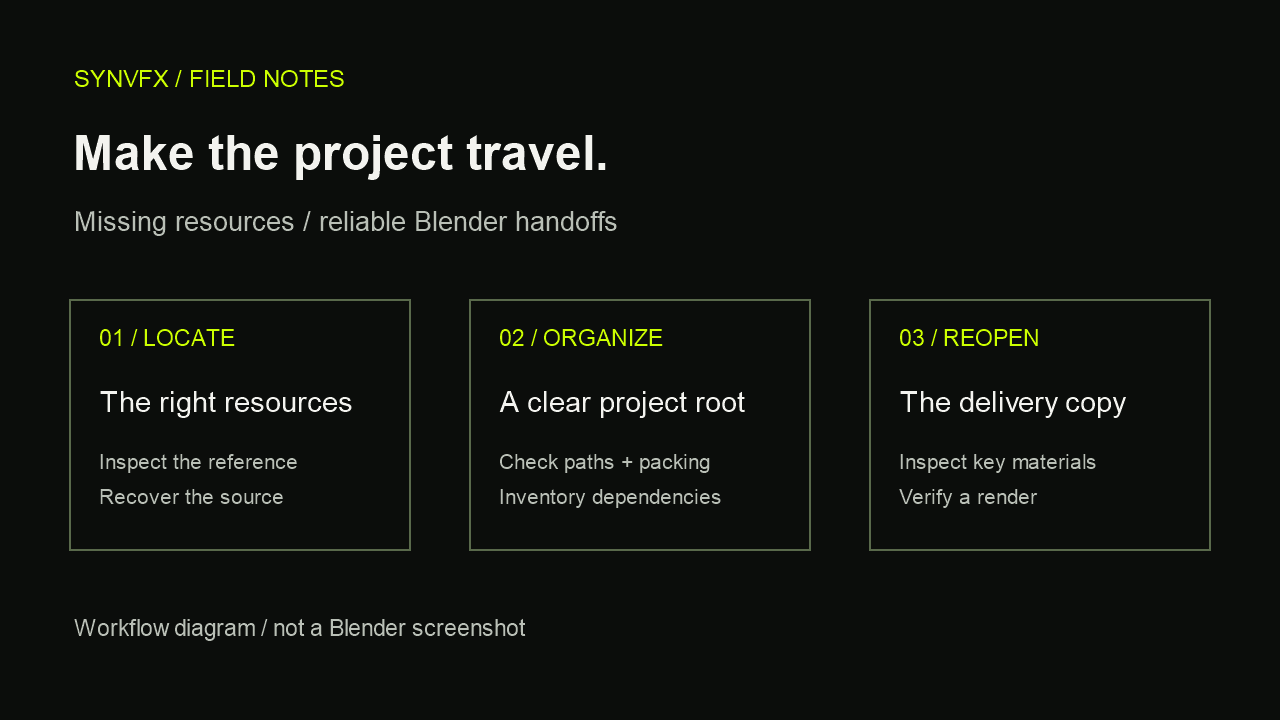
A Blender scene can look finished on your workstation and arrive with missing textures on someone else’s. The scene file and its external resources have become separated: the file remembers a location that the receiving machine cannot use. Repairing that connection is only half the job. A reliable handoff also needs a deliberate folder structure and a test of the actual package you plan to send.
This guide separates recovery from delivery. Work on a copy, find the intended resources, then prepare a package that another artist can reopen. You do not need a product or an automated cleanup tool to follow the process.
1. Identify the missing resource before replacing it
Start with one affected material or asset. Inspect the image reference and note the expected filename, folder and purpose. Is it the color map, a roughness map, a normal map or a different dependency? Replacing the first missing image with a similarly named file can make the error less obvious while changing the look.
- Compare the expected filename with the original asset delivery or texture export.
- Check that the file is actually present and accessible in the proposed location.
- Keep different asset versions separate while deciding which one belongs to the scene.
- Record the original path before changing it so you can explain the repair.
If a file has been deleted, a path repair cannot reconstruct it. Recover the correct source from a backup or request it from the asset owner. Avoid substituting an unrelated texture simply to remove a warning.
2. Repair paths with a narrow search
In the Blender 4.5 LTS interface reference, File → External Data contains Report Missing Files and Find Missing Files. The latter searches the chosen directory and its subfolders for missing resources. Start with the intended asset folder rather than searching every project on a drive. Recovered references use absolute paths; if required, convert them to relative paths after checking the result. Recovered resources may also need reloading.
Blender 4.5 LTS manual: External Data tools (Japanese page; English tool descriptions) →
Treat a successful search as a candidate repair. Inspect each affected material against a known reference or earlier render. A broad folder can contain multiple exports with familiar names. The important question is whether the intended file is now connected, not merely whether Blender can find some file.
When only a few references are broken, choosing the correct image location directly can be easier to audit than a broad search. Save the repaired test scene under a new name and reopen it before moving on.
3. Choose a project root before converting paths
A relative path is evaluated from the folder containing the referencing .blend file. Blender uses a double-slash prefix for such paths. Moving the scene and its resources together can preserve those relationships; moving the scene alone does not carry the resources with it. Save an untitled scene before relying on relative references.
Blender 4.5 LTS manual: relative paths (Indonesian page; English reference text) →
For a straightforward handoff, use one delivery folder containing the scene and clearly named resource subfolders. Keep the organization simple enough that a recipient can tell which files are source assets, caches and outputs. The exact folder names are less important than including the right resources and preserving the expected relationships.
delivery/
  scene.blend
  textures/
  references/
  caches/
  README.txt
This is an example layout, not a requirement imposed by Blender. A studio pipeline may require a different structure. Follow the receiving team’s conventions and agree on the project root before collecting files.
4. Decide what to pack and what to deliver separately
Blender can embed eligible external resources, including image textures, inside a .blend file. File → External Data → Pack Resources marks eligible resources for packing; save the scene to complete the operation. Packing is useful, but it is not a guarantee that every dependency is inside the file. The manual specifically notes that some external media, such as videos, cannot be packed.
Blender 4.5 LTS manual: packed data (German page; English reference text) →
Create a short dependency inventory before choosing a delivery method. List the scene, textures, linked project files, external media and any caches the recipient needs. Decide which resources belong inside the scene and which need accompanying folders. Do not assume that a single packing command has validated the inventory.
| Dependency | Check | Handoff note |
|---|---|---|
| Image textures | Is the correct version present or packed? | Identify any intentional external references |
| External media | Is the needed file included and reachable? | Include its location and intended use |
| Linked scene files | Does the receiving project resolve its dependencies? | Describe the agreed library layout |
| Simulation caches | Can the recipient reproduce or read the required result? | Record the relevant frame range and cache expectations |
| Add-ons and Blender version | Does the recipient have the required environment? | State versions and any known restrictions |
5. Test the package as a recipient would
Close the working scene and open the delivery copy from a separate test folder. Check missing resources again and inspect the repaired materials. Render a representative frame that includes important assets instead of relying on a viewport thumbnail.
Be careful with absolute references: a copied project can still reach the original assets on your machine, making the test appear successful. Inspect the reference locations and confirm they resolve within the package or an explicitly agreed shared location. If practical, have the recipient or a separate machine open the package before the deadline.
- Open the exact .blend file you intend to deliver.
- Inspect critical materials, linked assets and any time-dependent content.
- Confirm that required resources are in the package or documented shared storage.
- Compare a small render with an approved reference at the same frame and settings.
- Record any dependency you could not independently verify.
For animation, include checks at more than one frame, especially where cached effects or external media change. A successful first frame says little about a later missing cache or an incomplete sequence.
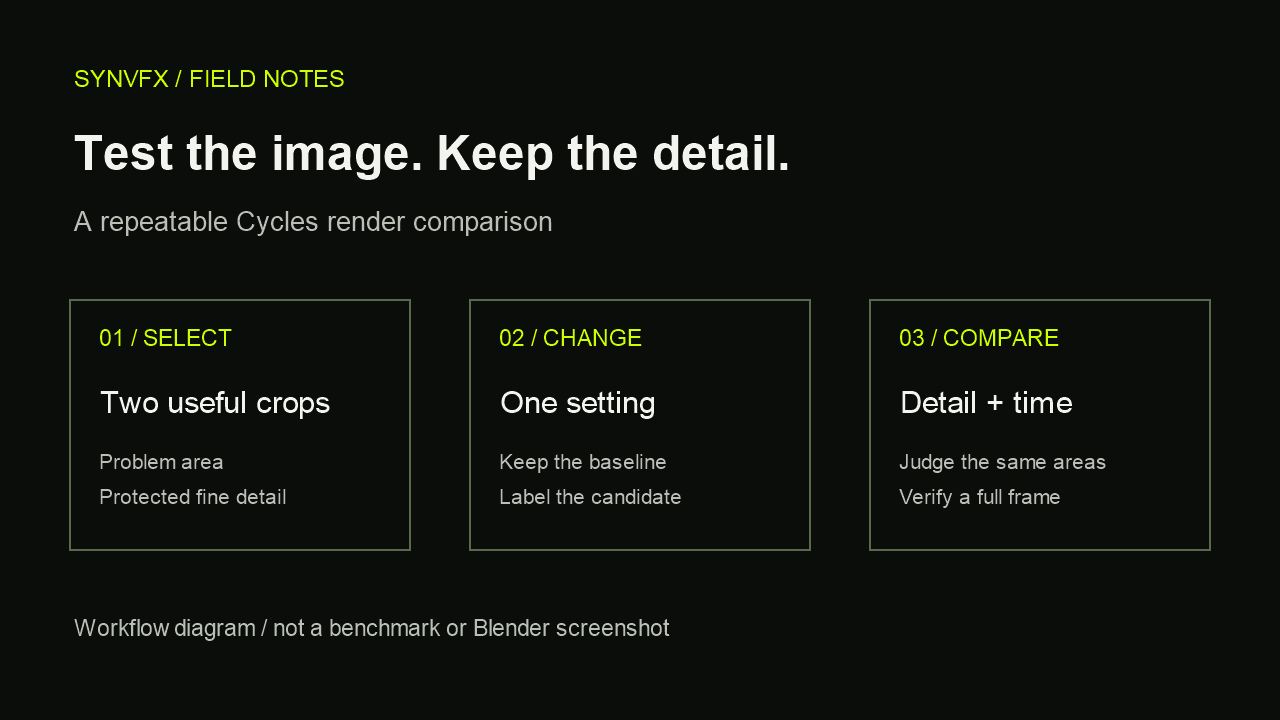
Use a repeatable render comparison for the verification frame →
6. Send a useful handoff note
Include a small README with the Blender version used, the scene filename, the intended camera and frame range, and the expected output. Add a list of required add-ons or external dependencies and explain any known limitations. The recipient should not need to guess which scene is final or whether a missing resource is intentional.
If you cannot verify a dependency, say exactly what remains untested. A clear note about an unavailable cache is more useful than declaring the project self-contained because the scene saved without an error.
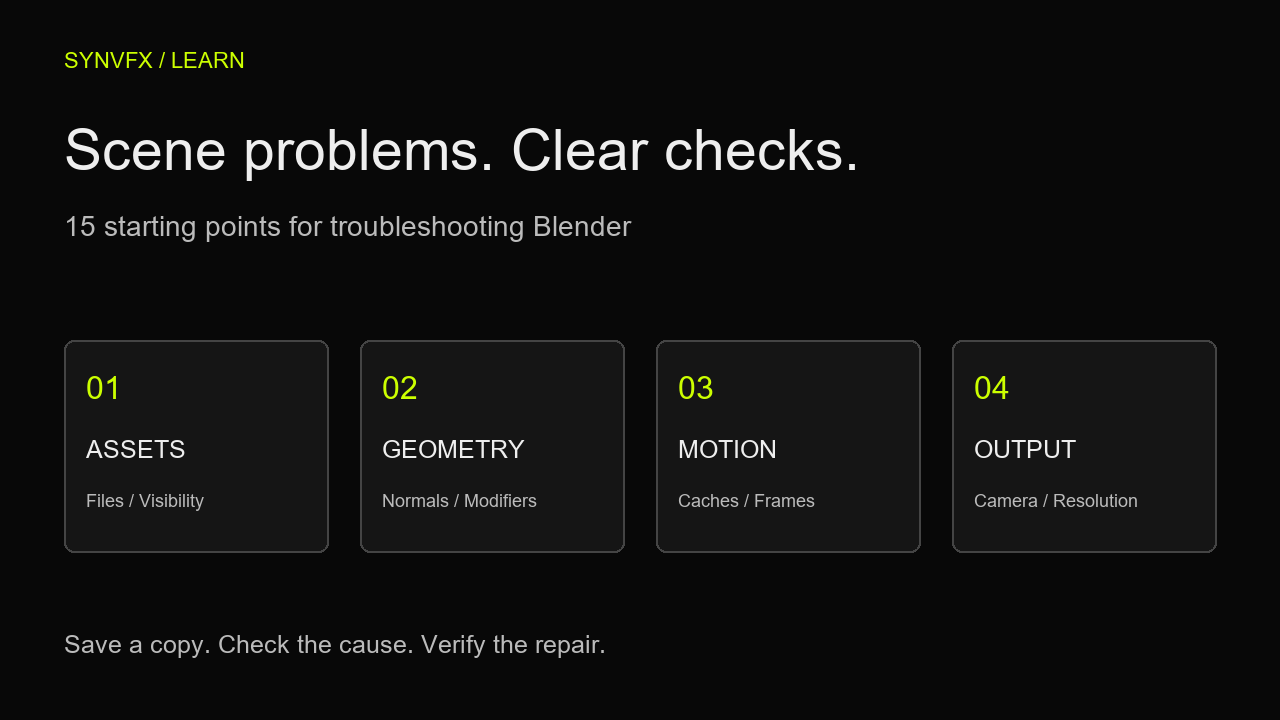
Review other common Blender scene problems →
Finish with a reopen, not just a save
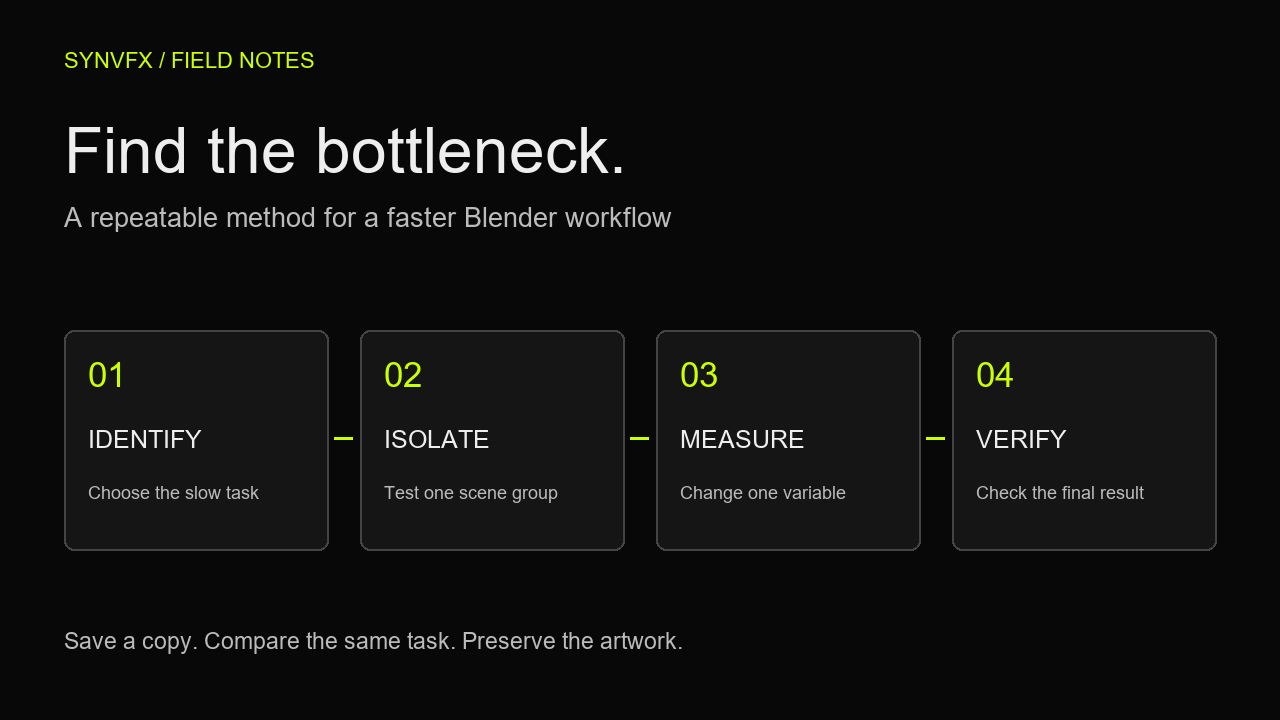
The repeatable workflow is simple: identify the intended resources, repair and inspect the references, organize the delivery copy, then reopen and render from that copy. Packing and relative paths are useful tools within that workflow. The handoff is complete when the package has been checked against the receiving environment, or its remaining assumptions are clearly documented.