Learn
15 Common Blender Scene Problems and How to Fix Them
A practical checklist for missing textures, invisible objects, shading artifacts, slow scenes, simulation surprises, and incorrect render output.
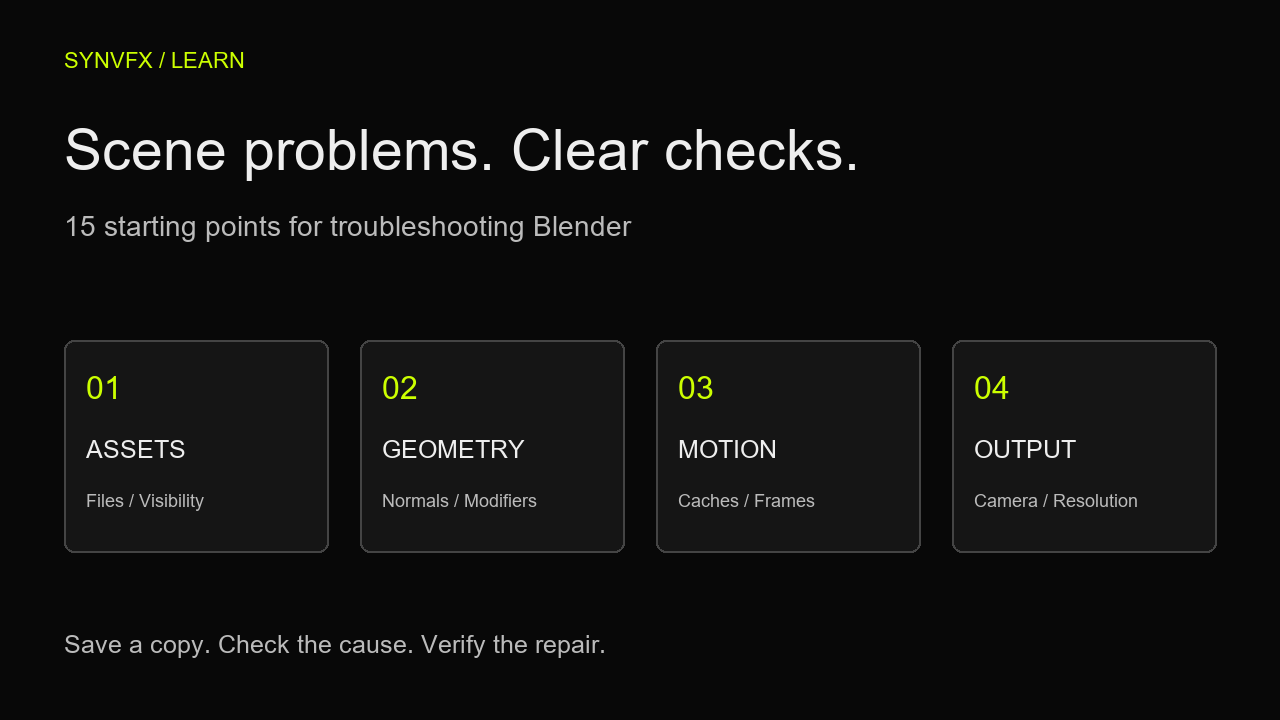
A broken-looking Blender scene does not always need a rebuild. Missing assets, different visibility settings, and a forgotten output option can resemble much larger problems. Start with the smallest test that distinguishes two possible causes, then verify the result in the view or render that matters.
1. Materials turn pink or textures go missing
Check the image used by the material and whether its file path still points to a real asset. A moved project folder or unavailable drive is a useful first suspect; do not rebuild the shader before checking its inputs. Use File > External Data > Report Missing Files, then Find Missing Files to search the intended asset directory. Inspect the relinked image so a same-named file from another project is not mistaken for the correct texture.
Blender manual: external data →
2. An object is visible in the viewport but absent from the render
Inspect render visibility on the object and its parent collections, then confirm the intended scene and view layer are active. Viewport visibility and render visibility are separate controls. Check the active camera as well: an object visible in a free viewport may simply be outside the shot. Restore the correct restriction or shot setup, and render a small test before investigating material settings.
Blender manual: Outliner restrictions →
3. An object seems to have vanished while editing
Find the object in the Outliner before assuming it was deleted. Check hidden objects, collection visibility, local view, and the active view layer. Frame the selected object to distinguish a hidden object from one located far from the current view. Restore only the intended visibility; revealing an entire complex scene at once can obscure which setting caused the problem.
4. Geometry disappears as you move the view or camera
Compare the viewport with the camera render. Each has clipping settings; changing one does not necessarily repair the other. Inspect near and far clipping distances and the scale of the scene. Adjust the relevant range to include the required geometry, then check close and distant objects. Avoid an unnecessarily extreme range as a default solution, and distinguish clipping from objects hidden by visibility controls.
Blender manual: camera clipping →
5. Faces appear to point the wrong way
Enable the Face Orientation overlay and inspect the affected region. In Edit Mode, select the intended faces and use Mesh > Normals > Recalculate Outside for a surface whose outside is meaningful. Check the result; open or flat geometry can require explicit orientation rather than a blanket recalculation. Face direction and custom shading normals are different concerns, so a face-orientation repair may not resolve every shading artifact.
6. A smooth surface has unexpected dents or dark patches
Inspect topology and face orientation before changing lighting. In a copy, compare the surface with suspect modifiers disabled one at a time. Check overlapping faces, abrupt shape changes, and any custom-normal workflow. A smooth-shading setting changes surface shading rather than adding geometric detail; it cannot repair a damaged silhouette. Keep changes local and inspect the final material under representative lighting.
Blender manual: mesh shading →
7. Bevels or other modifiers behave inconsistently after scaling
Inspect object scale and compare it with a simple reference object using the same modifier settings. Some modifiers and constraints depend on transforms. For a suitable static object, test applying scale in the diagnostic copy and compare the evaluated result. Do not apply transforms indiscriminately to rigs, animated objects, or hierarchies: their animation and constraints may depend on the existing setup.
Blender manual: Apply transforms →
8. A modifier stack produces an unexpected shape
Disable one modifier at a time in the copy and identify where the unwanted result appears. Stack order affects the evaluated geometry: an operation acting on the base mesh can behave differently when placed after subdivision or another geometry-changing modifier. Test a deliberate order change, preserve original values, and inspect both viewport and render evaluation. Avoid applying the whole stack just to make the symptom disappear.
Blender manual: modifier stack →
9. Editing one prop unexpectedly changes others
Check whether the objects share mesh data. Linked duplicates intentionally propagate mesh edits while allowing separate object transforms. If shared editing is appropriate, keep it. If a particular prop needs its own shape, make its object data single-user before editing it. Also inspect shared animation data where relevant. This is often a data relationship to manage, not corrupted geometry.
Blender manual: Duplicate Linked →
10. The scene becomes difficult to navigate
Separate viewport evaluation from rendered shading cost. Compare the same view in Solid and Rendered shading, then isolate suspect collections or modifiers in a copy. Lower editing detail only where the comparison supports it. Keep final-render requirements intact and record the test result. A scene with few input objects can still generate expensive evaluated geometry.
Use the slow-scene troubleshooting guide →
11. A simulation looks stale or changes between runs
Check the simulator-specific cache, frame range, and whether inputs changed after baking. A bake stores results for reuse, but a previous bake may no longer describe the edited setup. Preserve the approved cache, rebuild the diagnostic version when required, and replay the intended range before rendering. Keep cache files available during handoff rather than assuming the blend file contains every dependency.
Blender manual: simulation baking →
12. The render is smaller than expected or cropped
Check output resolution and its percentage multiplier. A low percentage used for preview renders can remain active at delivery time. Inspect Render Region and Crop to Render Region as well. Restore the intended settings, make a test render, and verify its actual pixel dimensions. Do not judge resolution from how large the image appears inside an editor window.
Blender manual: output format →
13. Blender renders the wrong shot
Verify the active scene, its assigned camera, and the frame being rendered. For animation, inspect camera bindings on timeline markers if the project uses them. Compare camera view with the resulting image before moving objects or altering lights. A camera used for reference or look development is not necessarily the camera assigned to the final shot.
14. The background is not transparent in the saved image
Check Film > Transparent for the render, then choose an output format that supports alpha and include the alpha channel in its color settings. A transparent render cannot remain transparent in a format that does not store alpha. Reopen the saved file and verify it over a contrasting background; the Render Result alone does not establish that the exported file has the intended channels.
Blender manual: Film transparency →
15. The animation has missing frames or the wrong duration
Inspect output Start, End, and Step. A step above one intentionally skips frames. Check frame rate in the scene and interpretation settings in the application assembling the image sequence. Rendered frame count and playback frame rate together determine duration. Confirm the first and last required frames and the sequence settings before launching a long final render.
Verify the repair before moving on
- Repeat the operation that originally showed the problem.
- Compare the same camera, frame, view layer, and settings.
- Check representative frames at delivery resolution.
- Record the cause and the smallest change that resolved it.
- Save a verified version separately from the original.
For performance problems, use a measured optimization workflow after identifying the bottleneck. For an asset or settings problem, a focused correction may be all you need. Keep those two situations separate so a straightforward repair does not become an unnecessary scene overhaul.
Continue with Blender Scene Optimization →
SYNAE is SYNVFX’s scene analysis and workflow guidance product. Explore its current product page if that approach suits your work. The checklist above can be used independently of any SYNVFX product.
References primarily use Blender 4.5 LTS documentation; frame-range documentation links to the current manual. Interface details vary by version. These checks do not claim a guaranteed diagnosis or an automatic product fix.