Workflows
Blender Scene Optimization: A Practical Guide for Artists
Build a lighter working scene without losing the final image. A practical workflow for geometry, repeated assets, textures, simulations, and render handoff.
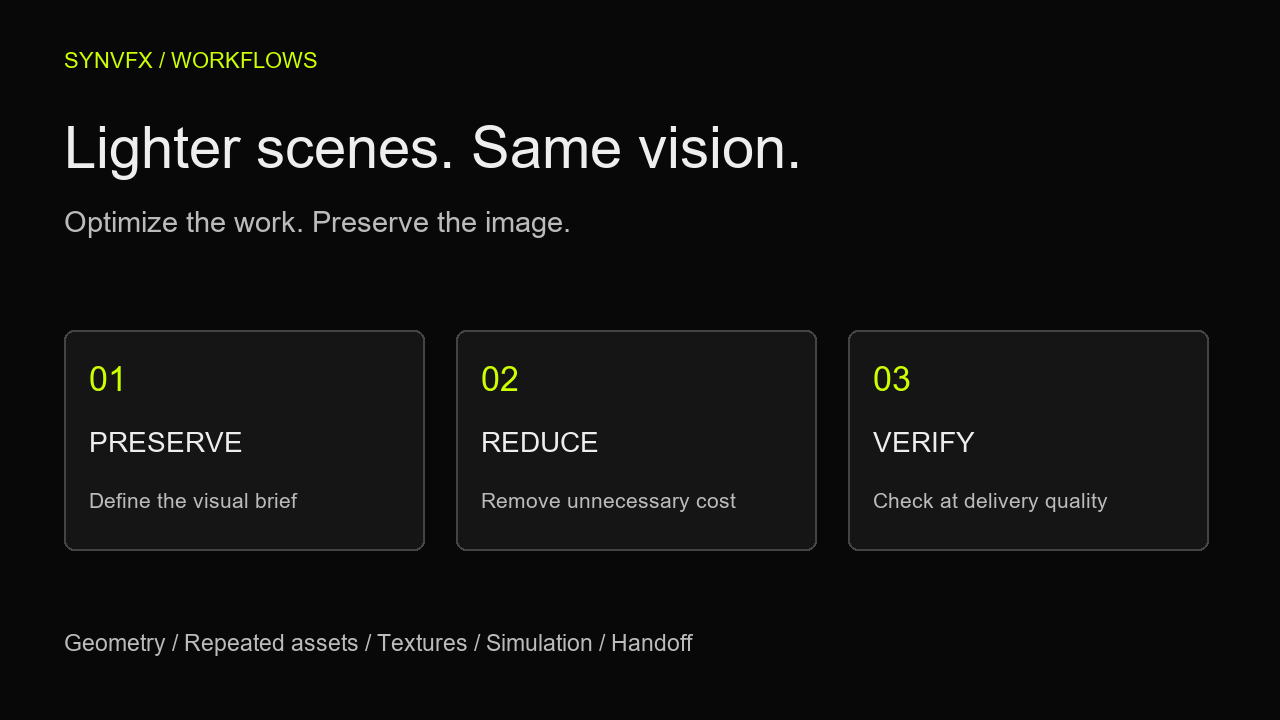
Optimization begins with a visual requirement: what must the viewer see, and what must the artist be able to edit? A lighter scene is useful when it preserves those requirements. Remove unnecessary work while keeping the shapes, materials, motion, and lighting that make the shot successful.
This guide turns a diagnosed bottleneck into a repeatable production workflow. If you do not yet know whether the problem is viewport evaluation, playback, render preparation, or image sampling, start with the troubleshooting guide first.
Diagnose a slow Blender scene first →
1. Define delivery quality before reducing detail
Choose representative camera views and frames: a close-up, a wide shot, and a frame with demanding reflections or simulation detail. Record the intended resolution, frame range, and output requirements. These become your quality checks throughout the process.
Choose a performance target tied to the work: smoother camera navigation, reliable playback, a render that fits available memory, or a shorter iteration cycle. Avoid a vague target such as fewer polygons. Reducing geometry that is not causing the bottleneck may give you a poorer image without a useful improvement.
| Experiment | Measure | Quality check |
|---|---|---|
| Lower viewport subdivision | Repeat the same editing action | Preserve render levels and inspect silhouette |
| Share repeated asset data | Compare memory and editing behavior | Check whether shared edits are intended |
| Use a smaller texture variant | Compare memory during the same task | Inspect the closest relevant camera view |
| Test render-data reuse | Compare repeated renders and memory | Confirm sufficient memory remains |
2. Separate working settings from render settings
An editing view does not always need final-render detail. Blender's Subdivision Surface modifier exposes separate viewport and render levels. Higher levels increase geometry and memory cost. Test a lower viewport level on objects implicated by your measurements, while retaining the render level required for the shot.
Check that the lighter view still lets you judge the features you are editing. A proxy that hides the silhouette you need to sculpt or the contact surface you need to animate is too coarse for that task. Record the distinction so collaborators do not mistake the editing approximation for the delivery result.
Blender manual: Subdivision Surface →
- Change one suspected object's viewport detail before changing every object.
- Compare the same view and action before and after the change.
- Keep modifier order intact unless changing it is a deliberate visual experiment.
- Do not assume applying a modifier makes it cheaper; measure the resulting workload.
3. Decide which repeated assets should share data
Repeated props often need independent placement but identical shapes. A linked duplicate shares object data with its source while allowing separate object transforms. An edit to the shared mesh updates its linked copies.
Sharing data is an editorial decision as well as a scene-management technique. Use it when changes should propagate. Keep an independent version when a prop must change shape on its own. Linked animation data deserves attention too: a duplicate can share the original action, so verify that the resulting motion is intentional.
Blender manual: Duplicate Linked →
Do not expect a particular render speedup from shared data or a smaller file alone. The renderer still has work to do for visible objects. Compare the task that matters, and inspect procedural setups after evaluation rather than judging their cost from the input mesh.
4. Match texture detail to the shot
Start with surfaces that are small in the frame or never approached by the camera. Make a lower-resolution texture variant and compare it at delivery resolution. Preserve the original asset so a later camera change does not force you to rebuild detail.
Judge more than base color. Smaller normal, roughness, or displacement maps can alter highlights or apparent surface shape. Inspect glancing angles, close-ups, and moving shots. Compressed file size and loaded texture memory are different things: measure memory during the actual operation.
- Begin with one expensive or distant asset, not a blanket reduction.
- Compare variants at the same camera and resolution.
- Watch system and GPU memory during the same task.
- Name reduced and delivery assets clearly so they cannot be confused.
5. Preserve a repeatable simulation workflow
Repeatedly recalculating an unchanged simulation can make iteration costly. Baking stores results for reuse; Blender recommends baking physics before rendering for repeatability. Cache controls vary by simulation type, so consult the documentation for your system and Blender version.
Treat caches as shot deliverables. Record their frame range and location, and include them when handing work off. After changing simulation inputs, verify whether the bake is still valid before judging the result. Never delete the only approved cache as a casual cleanup step.
Blender manual: Baking Physics Simulations →
6. Test render iteration separately from final quality
A short test render helps compare settings but is not the final quality check. Use a representative region or smaller resolution to investigate, then return to delivery resolution and inspect noise, detail, reflections, and motion. Keep image-quality settings constant when comparing scene-structure changes.
Cycles Persistent Data can retain render data between renders, trading additional memory use for faster repeated rendering in suitable workloads. Test it when repeated rendering is expensive. Compare elapsed time and available memory; retaining data may be the wrong tradeoff on a machine already near its memory limit.
Blender manual: Cycles Performance →
Sample reduction changes the image-quality problem, while geometry or asset-management changes can affect scene preparation. Keep those experiments separate for a clearer answer and a useful record of why you chose the final settings.
7. Make the optimized scene safe to hand off
- Restore the full scene and verify intended viewport and render settings.
- Render representative frames at delivery resolution.
- Inspect silhouettes, material detail, shadows, reflections, and simulation continuity.
- Check that textures, linked assets, and caches are available in the handoff location.
- Repeat the baseline and record the result alongside any quality tradeoff.
- Save the verified version separately and include a short change log.
An optimization that survives a camera change, another artist opening the file, and a final render check is more useful than an impressive number measured under different conditions. Preserve the visual brief, identify expensive work, make a reversible change, and verify the result.
SYNAE is SYNVFX's scene analysis and workflow guidance product. Explore its current product information if that approach fits your process; the method above works independently of any product.
Technical references use Blender 4.5 LTS documentation. Settings vary by version. No benchmark results or guaranteed speedups are claimed; measure your own scene and hardware.